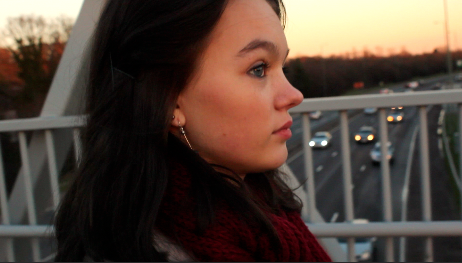
- In order to put our footage together in a way that will be comprehensible, I began with the shots on the bridge, in the street and in the alleyway (the shots of the killer's victim- Ellie).
- The shots in the killer's garage will also be put together separately, to ensure that the storyline is clear before both settings are put together.
- I have also used the flashback footage between some shots, in order to introduce the horror genre to the audience early on.
- Each of the flashback shots are cut down to less than a second each, and they cut back to the same shot (for example, the close up shot of Ellie, seen below) as before.
- I considered using a cross blur transition effect between the flashback shots and the 'present day' shots, however, I felt that simple straight cut edits were more effective, as they have a jumpy, jolting effect: a jumpy tone is a key feature of most horror genres.
- I also considered using a cross blur transition effect between the footage and the credits, but I felt that continuing with straight cuts would help the sequence have a consistent style throughout.
- The area I have been having the most difficulty with, is editing the colours in the shots.
- As the shots are largely set outdoors, making sure the lighting and colours are consistent throughout all the shots has become a hindrance.
- For example, some shots have brighter, more orange sunsets than others.
- I used the colour, saturation and exposure tools to edit the colours of the shots.

- For example, here, I had to make the tracking shot of Ellie more saturated and have a more orange tone in order to match the colours in the other shots on the bridge.
Here are 44 seconds of edited footage:


No comments:
Post a Comment